Pinterest Project Fun: DIY Yarn Hangers

Pinterest_1

Hello, everyone! It’s Bethany here today, and I am so excited to be writing on Oak & Earth  as my favorite season has arrived – summer! During the warmer months, I find myself day dreaming and scrolling through my Pinterest page frequently. With so many fun project ideas available at my fingertips, I decided to take a risk and try one that I’ve been swooning over for a while. DIY Yarn Hangers!

While you can go on Etsy and snag something similar, I prefer DIY’s because you can add personal touches and really make it your own. I also found that the materials to make these hangers are very cost efficient. Once I gathered the materials, I threw on some music and simply tied the evening away. This would be a really fun project to do with some girlfriends!

I chose this yarn hanger DIY in particular because they fit the minimal vibe that I love, the metal rings added a fun touch I hadn’t seen in other yarn hangers, and I thought the user friendly instructions were perfect for a busy girl like me! It turns out, this project wasn’t a Pinterest fail at all (we’ve all had them). I’m absolutely in love, and I think they fit so well with my style and my home.

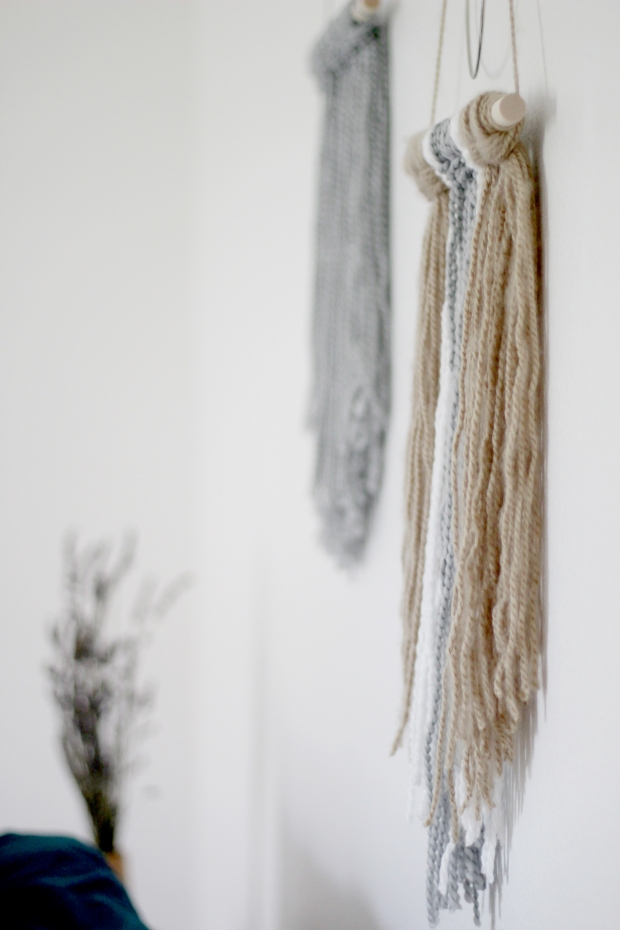
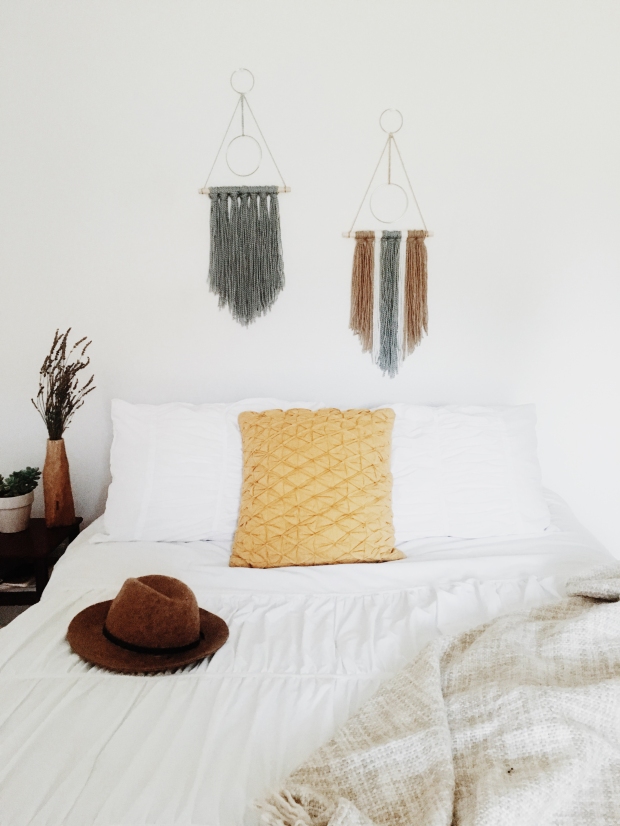
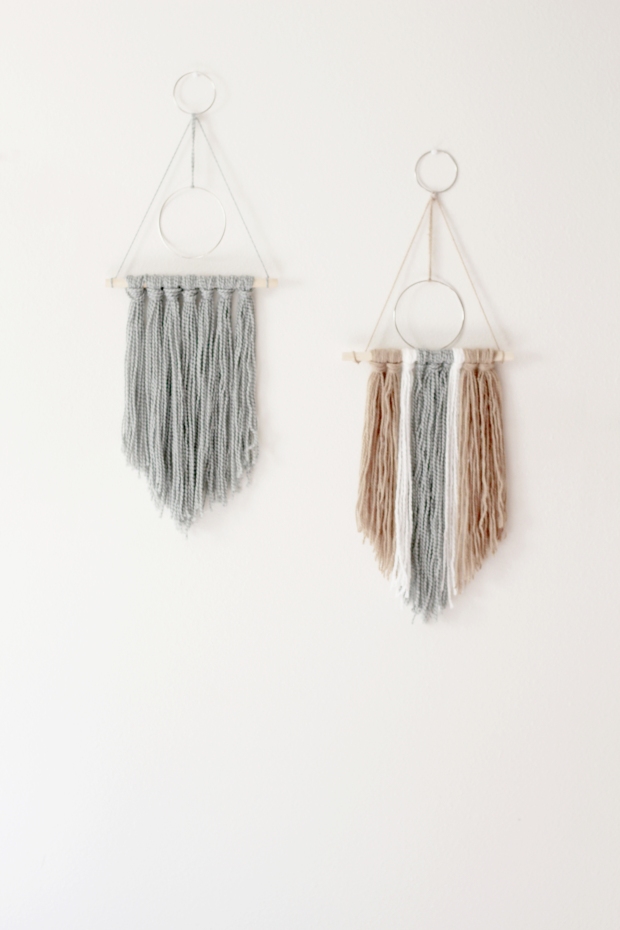
Here’s how they turned out!
diy4diy6Processed with VSCO with m5 preset

Making the Yarn Hangers

← P R E P A R E 

Because I wanted to hang my pieces in a wide blank space, I decided to make my yarn hangers a little larger than the measurements provided in the DIY. I simply multiplied the measurements to my liking. I found every single material item at Hobby Lobby! Remember that you can choose your own color of yarn, length, texture, tying styles, etc., and that personal choices are part of the fun of doing a DIY!

← M A T E R I A L S →

  • Yarn of choice
  • Scissors
  • Ruler or tape measure
  • Cardboard piece at least 14”
  • Metal rings **Note: The size of ring depends on how large you would like your hanging pieces. The DIY demonstration calls for 1.5” and 3” rings, while I upped the size a touch. There are many sizes to choose from at Hobby Lobby. 
  • Krazy glue
  • Round wood dowel **Note: DIY instructions called for 7. 5″, I chose 12”

← C R A F T →

I followed the instructions in the DIY Yarn Hanger post found HERE. This DIY project was created by the wonderful blogger, Amy, of HomeyOhMy. Her blog is great for minimal and modern home décor ideas and projects, so be sure to check her out!


We are so excited to share all the fun recipes, DIYS, and experiences that we have planned this summer! Please let us know if you try this project, and be sure to suggest some posts you would like to see in the future! You can keep up with me on Instagram @bethanympoteet, as well as our Oak & Earth social media links located in our side bar or footer.

Happy summer, and happy pinning!

Bethany

diy7

Pin & Thread Co. Giveaway!

Wow! How can it already be May? Is anyone else freaked out by this? Anyway…

We have a VERY exciting post for you guys today! We have collaborated with one of our favorite local crafters, Sarah Hoover of Pin & Thread Co. to bring your our very first GIVEAWAY!!! 

IMG_2698

Pin this image!

Sarah got started with embroidery/sewing in high school when she, like many, took a beginners sewing class. She really enjoyed learning to sew, but hadn’t done it in awhile until a little over a year ago, when her husband Josh (after some heavy hinting on her part) bought her a sewing machine!

FullSizeRender-2

In her own words:

I started with making pillows. Last June, I taught myself the back stitch (very simple) and started doing embroidery. I was following a few people on Instagram that really inspired me to want to learn (@gulushthreads, @mytrashandtreasure, @emptydotroom). I was sewing a lot of pillows and we were running out of room to keep them so I ended up switching to banners after awhile. I had had a few friends and family members request pillows and embroideries back in August so I decided to make a little business out of it, that’s how I came up with pin and thread co. Sewing can also turn into an expensive hobby so I figured if I could sell a few things here and there that might help even things out. But it has mostly been, throughout the last year, a creative outlet for me.

Processed with VSCO with m5 preset

We’ve wanted to do a giveaway for awhile but wanted it to be something really special, and we couldn’t be happier with this banner! It is all the things we love: earthy, simple, locally made, a message we feel strongly about, and a spring/floral theme! Sarah did an AMAZING job and we are SO excited to give this beautiful banner to one of you lovely readers!

8DCFF4CE-05A6-4A3A-AEEC-EC881E5BA461

So now you’re probably all wondering, how the heck do I get my hands on this thing?! Well.. I’m glad you asked.

To enter this contest giveaway, simply follow our Instagram, @OakandEarth, follow @PinandThreadCo, and like the giveaway image on both feeds. (We will be checking, so please don’t forget any steps!) For extra entries you can tag friends in the comments (one friend per comment please!) and each person you tag will give you an entry! You can also re-post the giveaway image. Just make sure you tag us (@OakandEarth ) in the post!

IMG_6928

So there you have it! Go! Hurry! Enter! Contest ends May 27th!

As always, live healthy, love hard, and bloom where you’re planted.

-Shelby

The Lost Art of Letter Writing

When was the last time you received a handwritten letter in your mail box? Do you remember a time when you had to wait weeks instead of seconds to hear from someone? With the advent of email, texting, and instant messaging came the swift decline of what is now affectionately (for me anyway) referred to as “snail mail”. While modern forms of communication and social media undeniably have their perks, there is something about old fashioned mail that is incomparable.

Mailing a letter is the next best thing to showing up at someone’s door. You pick out the stationary or card and pen. You spend time writing out your thoughts and questions, stories and sentiments. You touch the paper with your hands. You seal the envelope. You place it in your mail box, and they retrieve it from theirs. They open the letter you sealed. They touch the same paper. They read the words you wrote by hand. There is an intimacy there that texting can never come close to.

Photo Mar 02, 8 03 52 PM

Photo Mar 02, 9 03 24 PM

I picked up this stationary, dip pen, and wax seal kit at a little shop in Florence, Italy

For those of you who have been following along with us for awhile, you might recall that I have a pen-pal, Becca, whom I have been corresponding with for the past 15 years. In fact, the last piece of mail I’ve received was a “Save-the-Date” to her wedding. Becca and I started writing when we were in 5th grade, but didn’t meet until we were 21. I was studying abroad in Scotland at the time, and she came to visit me from her home in New England. Becca and I have both experienced and been through so much since we began writing all those years ago, and she has been such a blessing to me. I never would have had the pleasure of knowing her, had it not been for handwritten letters. (Becca is also an amazingly talented illustrator and you should definitely check out her work here!)

Another thing I love about letters is that they are a legacy. They don’t disappear with the click of a button. They are a written history to be treasured and passed down through generations. I have letters from my great grandparents and grandparents, many of whom have now passed, and I deeply treasure the words they left behind. Seeing the handwriting of someone you can no longer speak to is almost like them being there with you for a moment as you read.

Photo Mar 02, 7 52 17 PM

In the fast-paced world of 2016, NOW is the time to slow down… and start writing letters. To help you get started, I’ve created this Pinterest board with lots of letter writing/snail mail inspiration! I also encourage you to go out and buy some stationary! Letter writing is an art, and writing on beautiful stationary is an easy way to “pretty up” your missives. Some of my favorite places to pick up something special are Rifle Paper Co., Studio Oh!, and locally, Shindig Paperie!

Photo Mar 02, 9 43 29 PM

Some of the stationary I’ve amassed

Do you love letters? Are you passionate about snail mail? Comment below and tell us why! Share memories of your favorite letter-writing/receiving experiences. We can’t wait to connect with you! Maybe you’ll even wind up with your own pen-pal.

As always, live healthy and love hard!

-Shelby

Photo Mar 02, 7 51 44 PM


DIY: Holiday Dreamcatchers

I don’t know about you guys, but I get a little nutty this time of year. The smells, the sounds, the lights, the traditions! As my Grandpa says, “I’m about run away with nostalgia.” (For those of you not familiar with Southern jargon, that roughly translates to, I’m extremely nostalgic!)

One of my favorite things about the Holiday season is decorating! A little after Thanksgiving I was trying to think of a fun Christmas craft to share here on Oak and Earth, and it suddenly hit me – Holiday dreamcatchers!

Photo Dec 17, 8 33 04 PM

This is such a fun project, and we are so excited about it! So, grab some cocoa, slip into your comfy clothes, put on your favorite Christmas album, and make a craft night of it with your best girlfriends!

Photo Dec 08, 6 41 45 AMPhoto Dec 08, 6 49 05 AMPhoto Dec 08, 7 30 16 AM

Materials:

Metal ring or embroidery ring (we used embroidery rings)

Embroidery thread or hemp (we used embroidery thread)

Leather crafting cord

Yarn (in fun holiday colors!)

Feathers, jingle bells, beads, and/or other embellishments

Photo Dec 08, 6 47 55 AMProcessed with VSCOcam with j4 presetPhoto Dec 08, 7 30 49 AM

Directions:

  1. Glue the leather cord to the ring (we used Tacky Glue) leaving about two inches free at the end of the cord
  2. Begin wrapping the cord around the ring
  3. When you’ve wrapped the entire ring, tie a knot using the end you left free
  4. Cut three yards of embroidery thread or hemp
  5. Tie the embroidery thread onto the ring, near to where you tied the leather cord
  6. Measure about a pinky fingers length away from the knot
  7. Wrap the thread underneath the ring, then loop it through, pulling it tight
  8. Repeat this “knot” around the entire ring
  9. When you get back to the first knot, tie a real knot
  10. Begin going around the ring again, this time making each “knot” in the middle of the thread
  11. Begin adding embellishments as you continue to weave the dreamcatcher (we added jingle bells, which we felt was a great festive element!)
  12. When you get to a stopping point, tie a knot and cut off the end
  13. Begin tying lengths of yarn to the bottom of the dreamcatcher (now begins the really fun part!)
  14. Tie on lengths of leather cord and attach feathers using tacky glue or by tying them on
  15. Add more jingle bells 🙂

The rest is up to your creative instinct! There is quite a bit of room here to let your personality shine. Have fun with it! We think these gold dipped feathers would be a great addition. Also, here is a tutorial with more in depth instructions on basic dreamcatcher weaving, with pictures!

We had a blast with this project and know you will too! Remember, this season is all about making memories with those you love, and crafts are a perfect way to do that! Tag pics of your holiday dreamcatchers to #OakandEarthBlog so we can see your creations!

As always, live healthy, love hard, and have a very Merry Christmas!

– Shelby

Photo Dec 17, 11 36 26 PM

“For unto you is born this day in the city of David a Savior, who is Christ the Lord!” – Luke 2:11