

Hello Oak and Earth readers! It’s Bethany here on the blog this week. It’s been a crazy couple of weeks for us Oak and Earth gals. In the midst of all this craziness, Denver and I have been doing a few home projects (more on this later), and I have decided to show you one that I did recently!
This project came about because we had finally decided to purchase a real couch. Now, when I say real couch, I mean not a passed down (but very comfortable) love seat that we’ve had since we were married. In fact, almost all of our furniture has been passed down to us. We have been so thankful for it, but it’s time for a furniture face lift! Most of it we have been painting or re-inventing.
Ain’t nobody got money for all new furniture (except for Kimye).
A new couch, however, is something we have wanted for a long time and felt the investment was worth it. We found one that we love, and it came with throw pillows! The throw pillows weren’t awful, but they weren’t anything I would have chosen. Instead of tossing them or putting them in a garage sale, I decided to re-invent these too!
I had remembered seeing a video on how to do no-sew slip covers for pillows, and this sounded like a perfect project for a busy girl like me. I had two of these pillows, and I chose a different fabric for each. Why do this project? Simple — all (yes all) throw pillows are expensive, and the fabric I chose is not. I also love that if we change our style later down the road, all I have to do is go grab a new set of fabrics! Win and win. Let’s check it out.
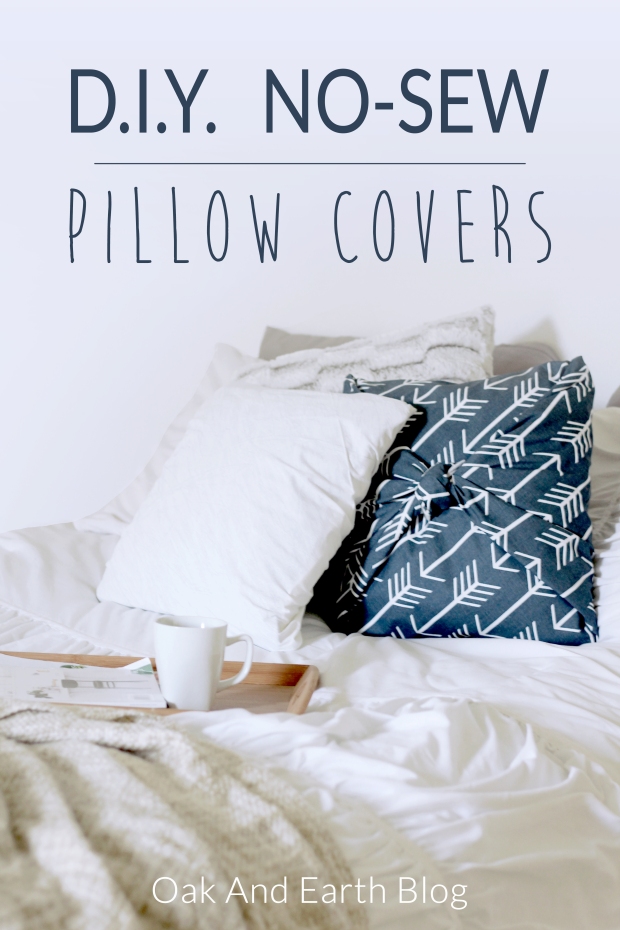
Pin this image!
STEP 1: Pick out fabric for your pillows. I was covering two pillows and chose one yard of white fabric, and one yard of navy fabric with white arrows (as pictured). I found mine at Hobby Lobby.
STEP 2: Lay your fabric pattern face down, and measure it into a square. Fold up excess fabric.


STEP 3: Rotate your fabric into a diamond shape.
STEP 4: Fold the bottom corner onto the pillow.


STEP 5: While holding the corner of fabric on the pillow (see above), roll the pillow into the middle of the fabric.
STEP 6: Grab the top corner of the fabric.


STEP 7: Pull that corner over the pillow.
STEP 8: Tuck the corner under so that it makes a straight edge.


STEP 9: Tuck the edges of the fabric in like you’re wrapping a present. This just straightens the edges.
STEP 10: Pull the two sides together in preparation to tie them. As you do this, make sure your fabric is pulled tight and crisp.


STEP 11: Tie the edges into a double knot.
STEP 12: Tuck the excess fabric into the side folds to hide them.


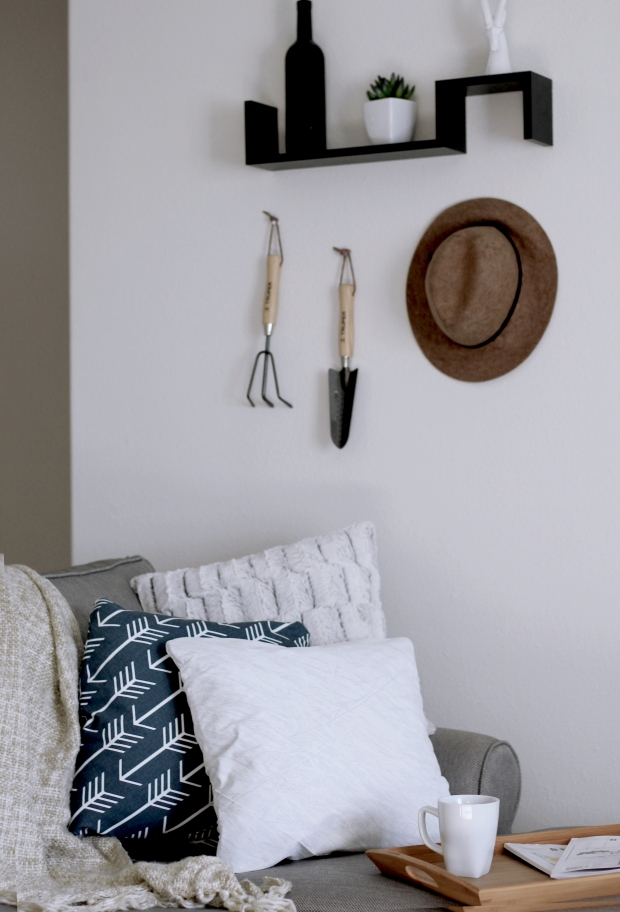
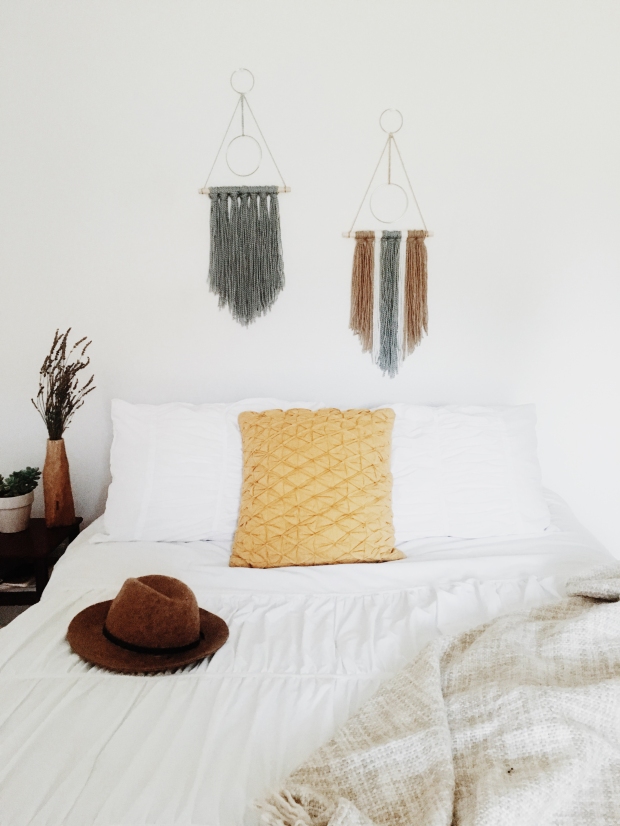
Once these steps are done, you can either display the knotted side, or the flat side (both options are pictured below). The white pillow displayed below is also a cover done the exact same way!
I enjoy having these on my couch or on my bed. Let’s take a look!


◊◊◊◊◊◊◊◊◊◊◊◊◊◊◊◊◊◊◊◊◊◊◊◊◊◊◊◊◊◊◊◊◊◊◊◊◊◊
This was a really quick and easy D.I.Y.! I am so glad I decided to keep the original pillows and turn them into something I can use in multiple rooms of my house. Being the D.I.Y. loving woman that I am, I can’t wait to experience (and possibly blog about) our next set of home projects! In the mean time, you can keep up with me on Instagram @bethanympoteet, and with our Oak and Earth accounts located in the side bar or footer.
Happy last couple weeks of summer!
❤ Bethany


 Below, I have listed some questions that I found to be helpful while starting this process:


