Pinterest Project Fun: DIY Yarn Hangers

Pinterest_1

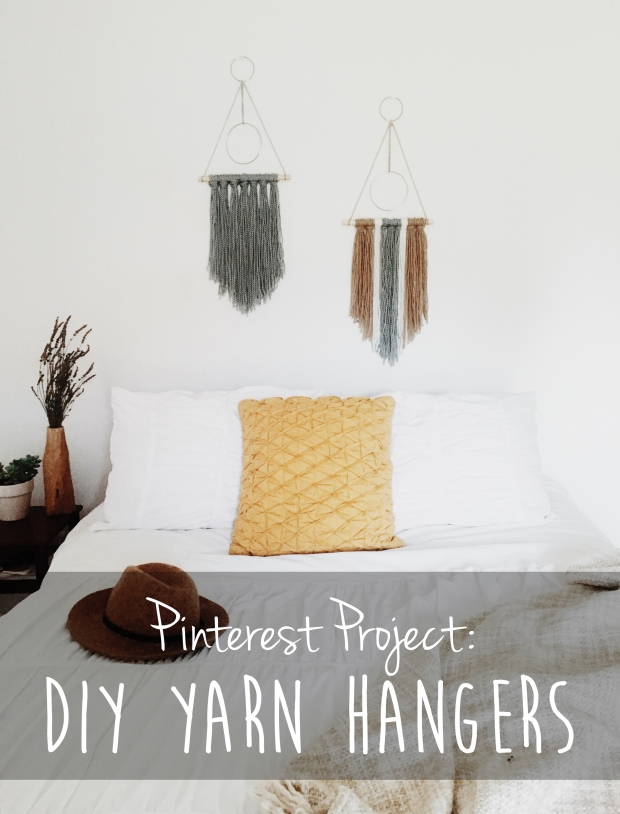
Hello, everyone! It’s Bethany here today, and I am so excited to be writing on Oak & Earth  as my favorite season has arrived – summer! During the warmer months, I find myself day dreaming and scrolling through my Pinterest page frequently. With so many fun project ideas available at my fingertips, I decided to take a risk and try one that I’ve been swooning over for a while. DIY Yarn Hangers!

While you can go on Etsy and snag something similar, I prefer DIY’s because you can add personal touches and really make it your own. I also found that the materials to make these hangers are very cost efficient. Once I gathered the materials, I threw on some music and simply tied the evening away. This would be a really fun project to do with some girlfriends!

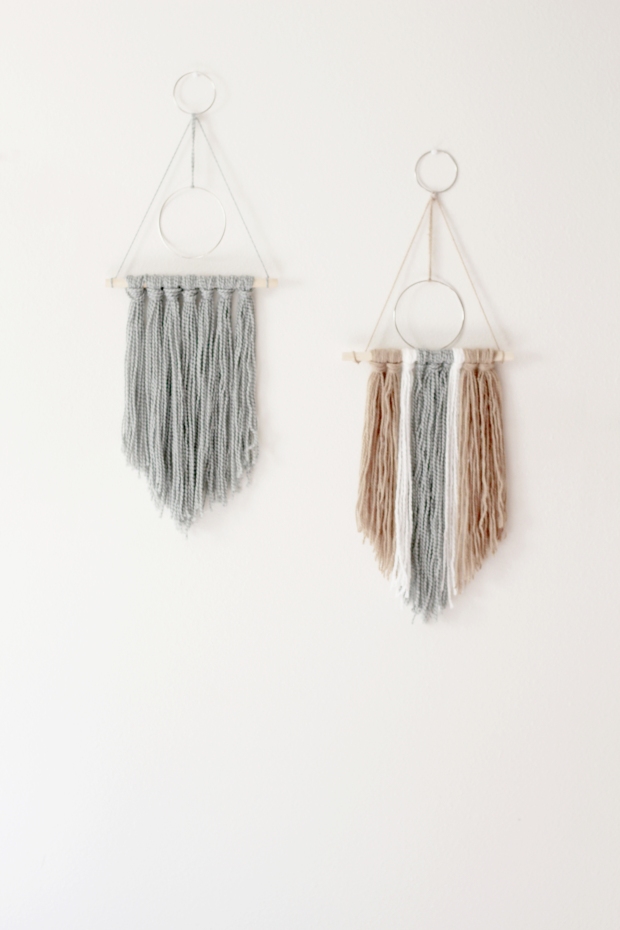
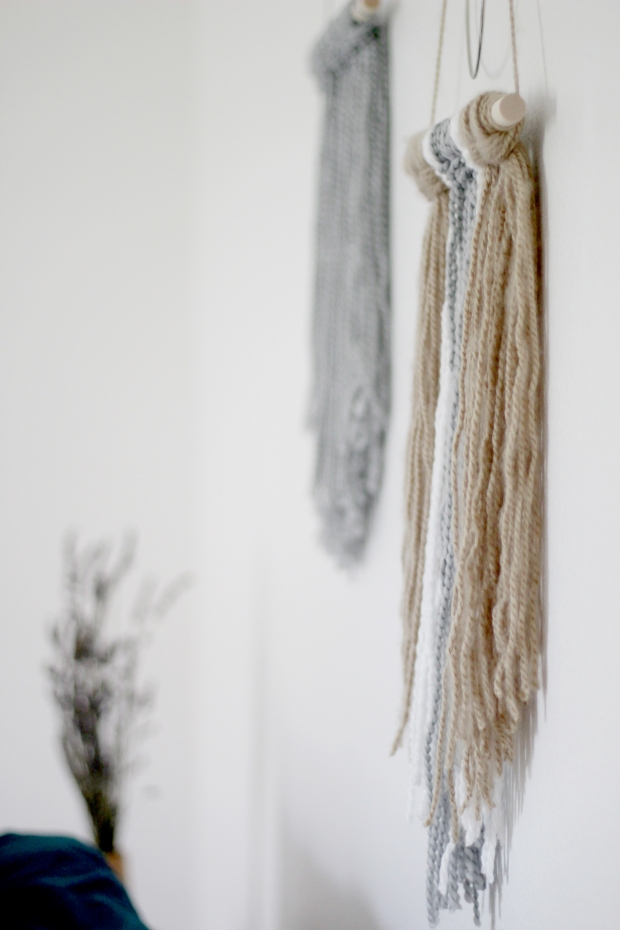
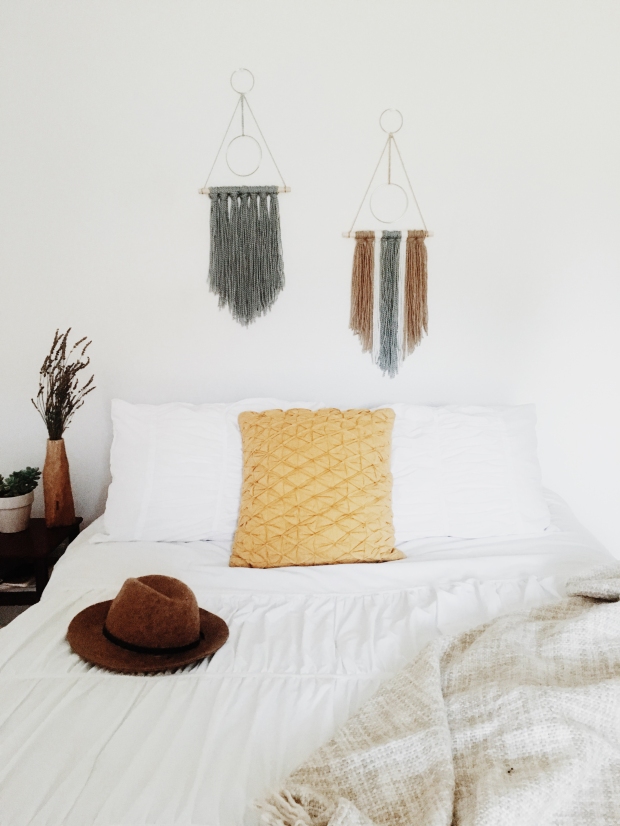
I chose this yarn hanger DIY in particular because they fit the minimal vibe that I love, the metal rings added a fun touch I hadn’t seen in other yarn hangers, and I thought the user friendly instructions were perfect for a busy girl like me! It turns out, this project wasn’t a Pinterest fail at all (we’ve all had them). I’m absolutely in love, and I think they fit so well with my style and my home.

Here’s how they turned out!

diy4diy6Processed with VSCO with m5 preset

Making the Yarn Hangers

← P R E P A R E 

Because I wanted to hang my pieces in a wide blank space, I decided to make my yarn hangers a little larger than the measurements provided in the DIY. I simply multiplied the measurements to my liking. I found every single material item at Hobby Lobby! Remember that you can choose your own color of yarn, length, texture, tying styles, etc., and that personal choices are part of the fun of doing a DIY!

← M A T E R I A L S →

  • Yarn of choice
  • Scissors
  • Ruler or tape measure
  • Cardboard piece at least 14”
  • Metal rings **Note: The size of ring depends on how large you would like your hanging pieces. The DIY demonstration calls for 1.5” and 3” rings, while I upped the size a touch. There are many sizes to choose from at Hobby Lobby. 
  • Krazy glue
  • Round wood dowel **Note: DIY instructions called for 7. 5″, I chose 12”

← C R A F T →

I followed the instructions in the DIY Yarn Hanger post found HERE. This DIY project was created by the wonderful blogger, Amy, of HomeyOhMy. Her blog is great for minimal and modern home décor ideas and projects, so be sure to check her out!


We are so excited to share all the fun recipes, DIYS, and experiences that we have planned this summer! Please let us know if you try this project, and be sure to suggest some posts you would like to see in the future! You can keep up with me on Instagram @bethanympoteet, as well as our Oak & Earth social media links located in our side bar or footer.

Happy summer, and happy pinning!

Bethany

diy7

D.I.Y. Fourth of July Top

Hello again readers! It’s Bethany here, and I am bringing you a fun D.I.Y. project just before Independence Day! I have done quite a few D.I.Y. tank tops in the past, so I thought it would fun to try a different one for this special holiday. I am really happy with how it turned out!

July7

What I like about this dip dye project is that you can make personal choices along the way. This can be done on a tank, t-shirt, or a do it  yourself crop. I chose a t-shirt turned crop top! Let’s get started!

Materials:

  • White t-shirt or tank (make sure to check out my helpful hints for the best fabrics to dye)
  • Latex or cleaning gloves
  • Scissors
  • Rubber band
  • Tulip Powder Fabric Dye [Red]
  • Tulip Powder Fabric Dye [Royal Blue]
  • Salt
  • Access to stainless steel double sink OR two cleaning buckets (make sure the sink is stainless steel, otherwise you have the possibility of staining your sink).

INSTRUCTIONS:

Step 1) Pick a top

You will need to determine what kind of top you would like to dye. This year I wanted to do a modest t-shirt crop top with high wasted jean shorts. If you have a white shirt on hand you can use that, just be sure to check out my list of best dye-able materials below. I chose to buy a new white shirt so that I could form it to my liking. I bought a white cotton scoop neck t-shirt from Wal-Mart for $3.88.

Blog1

Choosing Fabrics:

  • 100% cotton, linen, silk, wool, ramie
  • Synthetics such as rayon and nylon
  •  Fiber blends with at least 60% cotton or other dye-able fiber (blends will tint evenly but will not achieve full color)
  • DO NOT use pure polyester, acrylic, nylon, or fabric with special finishes

Step 2) Cropping

Making a crop top from a t-shirt is very simple. To get the desired length,  I always put the shirt on and fold or measure it to where I feel most comfortable cropping it. Eye balling it on the floor or just hanging in front of you is not always the best idea, because it often comes out too short or not cropped enough. Once you have your desired length, cut along that line. On this top I decided to also cut the collar a bit wider.

Blog2Blog3

3) Prepare to dye! *draws sword*

For this step, you will need to decide where you want your stripes:

  • Vertical stripes: With options of red on left or red on right
  • Horizontal Stripes: With options of red on top or red on bottom

I chose to do vertical stripes with red on the left and blue on the right. Deciding where you want your color will determine how you role your shirt to dye it. If you want vertical stripes like I had, then you want to role your shirt starting with the collar and role down to the bottom of the shirt. If you want horizontal stripes, you will want to roll it from the right sleeve to left sleeve. Once you have rolled it like the picture on the left, go ahead and grab your rubber band. Gather it in the middle and rubber band it. This will leave you a white space in the center of your shirt.

Blog4Blog5

4) Dye

For this particular shirt, I used Tulip Fabric Dye (powder) of Royal Blue and Red. I found these in the craft section at my local Wal-Mart. These dye packets come with step by step instructions on the back, and I did not deviate at all. These are the steps on the back of the package:

  1. Fill bucket/stainless steel sink with one gallon of STEAMING HOT water.
  2. Stir in 1/4 cup (4 tbsp) salt
  3. Pour in dye packet and stir until dissolved.
  4. Submerge fabric in dye mixture
  5. Stir continually for 15 minutes, and then occasionally for 45 minutes.

Submerge each side in the sink or shallow bucket for almost an hour. Remember to make sure each side is dipped into the color you want for that part of the shirt.

Blog7Blog8

Blog9Blog010

5) Rinse, Wash, and Dry

Rinse fabric in cold water. The instructions on the dye package say to machine wash warm; dry per laundry instructions. So that any excess dye wouldn’t stain any surrounding clothes in the wash, I decided to hand wash mine in the bath tub with detergent. This was quick and effective. I then put it in the dryer with other clothes I had going.

Blog012Blog011

7) Work it! 

At this point, my shirt had turned out just as I had wanted it to! I love simple Fourth of July tops, and I am so excited to celebrate in my own style!

Blog013July7

July1

July6 July9

Now go out and make your own! This process was really simple and fun. Please do not hesitate to ask questions and comment! Feel free to keep up with me on Instagram at Bethno13. We hashtag all our posts with #OakAndEarthBlog and our travel adventures with #OakAndEarthRoutes. This is an easy way to keep up with our posts, and as always we love talking to you all! Happy Independence Day!

Peace, love, and Rocketships.

-Bethany